Last updated: November 19, 2026
Quick Answer: the cheapest way to access emergency savings without paying unnecessary fees is often a standard transfer to a linked checking account, which can be free, while out-of-network ATM use can add fees from both the machine owner and your bank. If you need cash today, use the account’s free path first and only pay for speed when the emergency requires it.
In short, How to Access Emergency Savings Without Paying Unnecessary Fees usually comes down to using the account’s built-in transfer or withdrawal rules, because the fee usually comes from the access method, not the money itself. If the cash is in a linked checking account, a bank transfer or debit card withdrawal is often free; if you use an out-of-network ATM, the ATM fee is the first cost to avoid; if you tap into a separate bank, the external transfer timing matters more than the amount. See the Consumer Financial Protection Bureau and FDIC guidance on account terms, fees, and withdrawals if your bank’s wording is unclear.
Key Takeaways
- The lowest-cost route is usually the one your account already allows without a special fee.
- The main charges are ATM, external transfer, or excess withdrawal fees.
- Same-day access can be free, but only on the right channel.
- The biggest mistake is using the nearest ATM without checking the network first.
The fastest no-fee route for a real emergency
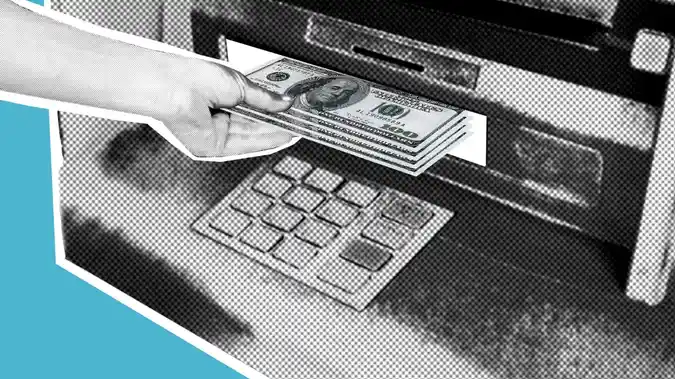
The fastest cheap route is usually a transfer from the emergency account to a linked checking account, then a debit card purchase or cash withdrawal from your own bank’s ATM. If both accounts are at the same bank, the transfer may post immediately or within minutes; if the accounts are at different banks, the wait is often 1 to 3 business days. When this works, you see the balance move first, then the cash is available without paying a separate access charge.
This is the core withdrawal process for avoiding a fee spiral:
- Check the account’s transfer options in the app or website. Look for “internal transfer,” “external transfer,” or “transfer to checking.” If the option appears, the institution is set up to move money without forcing you to use an ATM.
- Choose the linked checking account as the destination. If the emergency money lands there, you can spend with a debit card or withdraw cash at your bank’s ATM. The result you want is a transfer confirmation number and a changed available balance.
- Pick the speed that matches the emergency. Instant or same-day transfers usually cost more at some banks; standard transfers are more often free. If you do not need cash in the next hour, standard timing is usually the safer choice.
- Use your own bank’s debit card or ATM after the transfer clears. This avoids the fee from an out-of-network machine. You should see the withdrawal appear as a normal account transaction, not as a cash-advance-style charge.
- If the bank offers an in-branch cash withdrawal, ask before you leave. Tell the teller you want a withdrawal from the savings account or a transfer to checking first. You should leave with cash and no surprise ATM surcharge.
The trade-off is straightforward: the cheaper path can take longer. A same-day transfer is convenient, but a standard bank transfer is often the lower-cost choice if the situation can wait until the next business day.
For broader planning on keeping the fund easy to reach, see the hub on emergency fund storage and maintenance and the related guide on linked checking accounts.
How to access emergency savings without paying unnecessary fees
The cheapest access method is the one that matches the account rules already in place, not the one that feels fastest in the moment. A lot of unnecessary charges can come from using the wrong channel for a small withdrawal, like pulling $80 from an out-of-network ATM when a 5-minute transfer would have been free.
Use this order:
- Look for an internal transfer first. If the emergency money sits at the same bank as your checking account, move it there. Many banks treat that as a basic transfer, and the result is immediate availability in the linked account.
- If you bank with a separate institution, use an external transfer only when timing allows. The money may take 1 to 3 business days to show up, so this works best when the bill is due tomorrow rather than in the next 20 minutes.
- Avoid the ATM that charges a surcharge plus your bank’s fee. A single withdrawal can carry two fees: the machine owner’s charge and your bank’s out-of-network fee. That can turn a small cash need into an expensive one fast.
- Prefer debit card spending over cash when the merchant accepts it. A debit card purchase from checking often avoids both ATM fees and the hassle of handling cash. The transaction should post as a purchase, not as a cash withdrawal.
- If you need cash, use your bank’s ATM network or a branch. The ATM fee is often zero at an in-network machine, and a branch withdrawal may also be free. A receipt showing no surcharge is the sign you picked the right place.
The main mistake is treating all access methods as equal. They are not. A transfer can be free but slow; an ATM can be instant but costly; a debit card can be free for purchases but useless for rent, a utility bill, or a landlord who wants cash.
This is also where account terms matter. Some institutions limit the number of certain withdrawals or transfers per statement cycle, and some may still describe those older rules in account disclosures even when the old federal reserve language is gone. Read the account fee schedule for the exact wording on “withdrawal,” “transfer,” and “ATM reimbursement” before you need the money. If anything is unclear, call the bank and ask which route avoids a charge.
For account-rule details, the CFPB deposit account resources and the FDIC’s savings-withdrawal guidance are useful references, and your bank’s own fee schedule should be the final word on what is free.
Which fee is actually waiting for you?
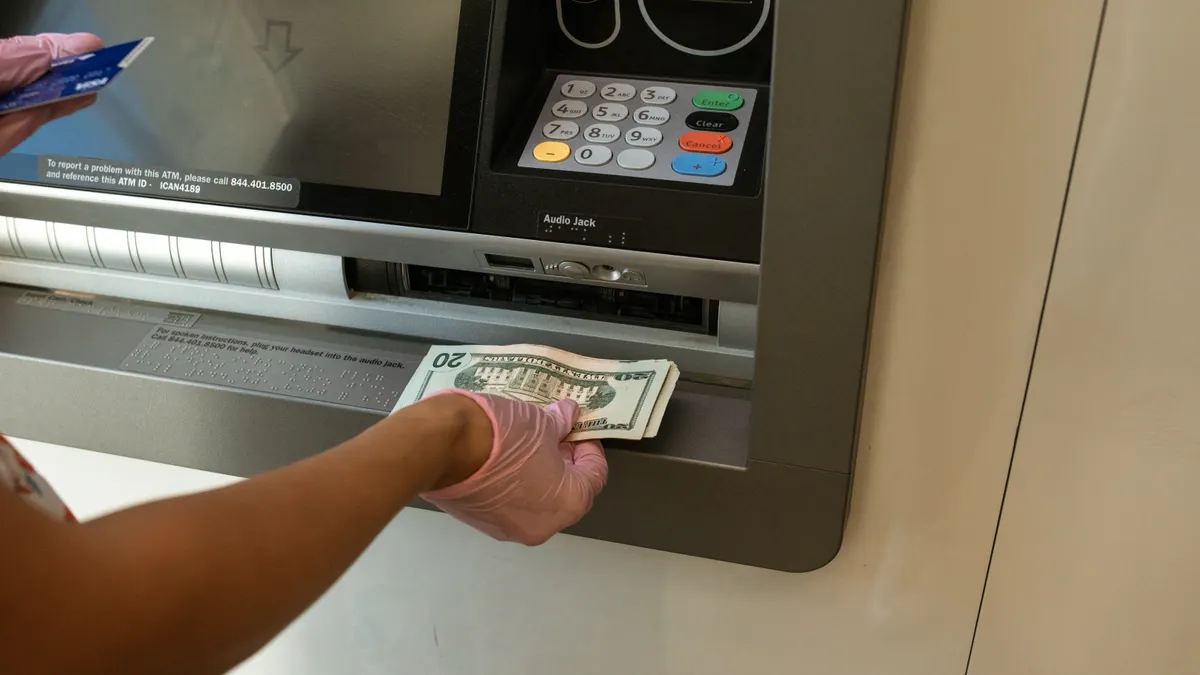
The fee to watch is usually the ATM fee, the external transfer fee, or an excess withdrawal fee, depending on how the money leaves the account. The access method determines the cost, and the account type determines whether the bank is allowed to assess a limit-based charge.
Here is how the common ones usually work:
- ATM fee: charged when you use an out-of-network machine. It can come from the ATM owner, your bank, or both. If the receipt or on-screen notice mentions a surcharge, you picked the expensive machine.
- External transfer fee: charged by some banks when you move money to another institution quickly or through a premium transfer service. If the app offers both standard and instant transfer, the instant option is the one most likely to cost extra.
- Excess withdrawal fee: charged when the account or product terms cap certain withdrawals or transfers in a statement cycle and you go over that limit. The result is a penalty listed on the statement, not a random ATM charge.
The safest way to avoid all three is to read the fee schedule before moving the money. On a typical online banking screen, the fee disclosure is buried under account details, transfers, or disclosures. If you cannot find it in under 2 minutes, search the institution’s site for “fee schedule,” “account disclosures,” or “ATM fees.”
A useful habit is to check the receipt or confirmation screen before you finish the transaction. If the screen names a fee, stop and choose another method. If it says “standard transfer” or “no fee,” continue. That 10-second pause can save you from paying for convenience you do not need.
One honest limitation: some banks waive fees only if you keep a linked checking account open, maintain a minimum balance, or use the bank’s own ATM network. That makes the free route conditional, not universal. If you do not meet those terms, the cheapest move may be a standard external transfer rather than an instant one.
For the bank rules behind access charges, the Consumer Financial Protection Bureau’s deposit account materials are a useful reference, and the Federal Deposit Insurance Corporation’s savings-withdrawal guidance is also worth checking when your bank’s wording is vague.
What to do when you need same-day access
Same-day access is possible, but it is only cheap when you use the right channel. If the money must be usable today, the usual answer is a same-bank transfer to checking, then a debit card payment or in-network ATM withdrawal.
Follow this order:
- Open the banking app and confirm the emergency account is linked to checking. If it is already linked, you can move on immediately. If not, add the checking account first; the app should confirm the link before it lets you send money.
- Choose the fastest no-fee option the app shows. Some banks label it “standard,” others “next-day,” and some offer “instant” for a charge. If the standard option shows a 0 fee and the timing fits, pick that one.
- Send only the amount you need for today. A small transfer reduces the chance of moving too much or triggering a fee based on transaction size or frequency.
- Use the debit card for purchases whenever possible. Groceries, gas, medicine, and transport are usually easier to pay this way than with cash. The transaction should clear as a regular purchase, not a cash advance.
- Withdraw cash only if the emergency truly requires it. If you need physical money, go to your bank’s ATM or a branch. You should see either no fee or a clearly disclosed surcharge before you confirm.
The downside is speed can be expensive if you choose the wrong setting. Instant transfers, expedited transfer services, and out-of-network cash withdrawals are convenient precisely because they bypass the standard wait. In a true emergency, that may be worth paying for. In a delay of a few hours, it often is not.
Do not assume a fintech app, wallet, or cash-transfer service is automatically cheap just because the interface looks simple. Read the fee screen every time. A one-line disclosure about “expedited service” is the difference between a free transfer and a paid one.
Common mistakes that turn a quick withdrawal into a costly one
The biggest mistake is using the nearest ATM without checking the network first. That can trigger a machine fee and a bank fee on the same $20 or $40 withdrawal, which is painful if the emergency is small. The better move is to locate an in-network machine in the app or on the bank’s website before leaving home.
Another mistake is choosing instant transfer by reflex. Instant is useful when a bill is due right now, but it is not the cheapest default. If the money is going to a linked checking account and you have until tomorrow, a standard transfer is usually enough.
A third mistake is pulling cash when a debit card would work. Cash is useful for a landlord, a mechanic, or a local service provider, but it does nothing for card-accepting stores. Paying with the debit card from the linked checking account avoids the ATM entirely.
A fourth mistake is ignoring the withdrawal limit language in the account terms. Some accounts still have restrictions on how often certain transfers can happen in a statement cycle. If you keep making repeated withdrawals over a short period, you may run into an excess withdrawal fee or a blocked transaction. The fix is simple: consolidate the need into one transfer whenever possible.
A fifth mistake is waiting until the emergency starts before learning the bank’s setup. The account may need a linked checking account, a verified phone number, or app access to make the cheap route work. If you discover that only after the power is out or the car is at the shop, you may end up paying for speed.
The clean rule is this: if the withdrawal screen mentions a surcharge, a rush service, or a limit warning, stop and switch methods. If it shows a standard transfer to checking, no surcharge, and a clear arrival time, you are on the cheapest path available.
A simple decision tree for the moment you need money
The right move is to match the method to the deadline: standard transfer for later today or tomorrow, debit card or in-network ATM for right now, and branch withdrawal if you want cash without hunting for a machine. This keeps the process from becoming a guessing game.
Use this shortcut:
- Need money in the next 5 minutes? Use a debit card if the merchant accepts it, or find your bank’s ATM or branch.
- Need money later today? Send a standard transfer to a linked checking account, then spend from there.
- Need cash and can wait 1 business day? Use an external transfer if it is free, or a standard same-bank transfer if available.
- Need cash right now and no in-network ATM is nearby? Compare the ATM fee against the size of the withdrawal. If the fee is large relative to the amount you need, use a debit card purchase instead and keep cash for a smaller follow-up withdrawal later.
The real goal is not just to get cash out. It is to keep the withdrawal from turning into a second emergency in the form of avoidable bank charges. That is why the linked checking account matters, why transfer timing matters, and why ATM location matters.
If you are unsure which route your bank treats as free, call the number on the back of the debit card and ask one narrow question: “What is the cheapest way to move money from my emergency account to checking or to cash today?” A clear answer in under a minute is usually a better guide than guessing inside the app.
How do I get emergency money quickly?
The fastest cheap option is usually a transfer to a linked checking account, then a debit card purchase or an in-network ATM withdrawal. If the transfer is standard, it may take 1 business day; if it is same-day or instant, it may cost more. If the emergency is immediate, ask the bank which route avoids a surcharge. For example, your bank can confirm whether a branch withdrawal or internal transfer is free.
Can I avoid fees when using my emergency fund?
Yes, if you use the bank’s free access path. That usually means an internal transfer, a standard external transfer, a debit card purchase, or an in-network ATM. The fee trap is usually an out-of-network ATM surcharge, an instant transfer charge, or a withdrawal limit penalty tied to the account terms. Check the bank’s fee schedule before you move the money.
What is the cheapest way to access savings in an emergency?
The cheapest way is usually a standard transfer from the emergency account to a linked checking account, then spending from checking with a debit card. That avoids ATM fees and usually avoids rush charges. If you need paper cash, use your own bank’s ATM or a branch rather than an out-of-network machine.
Drafted with AI; not yet reviewed by a person.