
Best Ways to Split an Emergency Fund Into Tier 1 and Tier 2 Cash

Last updated: November 19, 2026
Quick answer: split your emergency fund into two tiers by keeping a small Tier 1 balance in a checking account for same-day needs and placing the rest in a separate savings account for Tier 2 cash. A practical starting point is often a few hundred dollars in Tier 1, then adjust based on your bills and bank transfer timing.
In the article on the Best Ways to Split an Emergency Fund Into Tier 1 and Tier 2 Cash, the goal is to keep fast money easy to reach and the rest harder to raid. That gives you instant access without letting the whole reserve sit in the easiest place to spend it.
Key Takeaways
- Two tiers keep immediate cash separate from backup savings, so urgent money is easier to reach and less tempting to spend.
- Put a small fixed amount in Tier 1 checking, then move the rest to Tier 2 in a separate savings account.
- Tier 1 should usually cover your likely immediate costs, not the whole emergency fund.
- Tier 2 cash belongs in a separate savings account that is easy to move from but awkward to spend from.
A tiered emergency fund works because not every crisis has the same clock. A flat tire, a pharmacy bill, or a bounced paycheck may need money today. A job loss, roof repair, or deductible-sized bill can usually wait a day or two while you move cash from Tier 2.
What a two-tier emergency fund actually does

A two-tier emergency fund separates instant-access cash from backup savings so the right money is easy to reach and harder to raid. Tier 1 is the amount you expect to touch without thinking much, and Tier 2 is the larger reserve you want available within 1 to 3 business days.
That split solves two problems at once. First, it keeps a useful amount in a checking account where a debit card, bill pay, or ACH transfer can reach it fast. Second, it keeps the larger cash reserve away from your daily spending surface, which reduces the odds that a “temporary” dip becomes a permanent withdrawal.
A generic one-account setup often fails in practice because the balance is either too visible or too awkward. If all of it sits in checking, the money looks available for groceries, travel, or a home upgrade. If all of it sits in a savings account, you may delay a real emergency purchase because the transfer takes a day or more. A tiered emergency fund is the middle path.
The key idea is not to maximize yield at all costs. It is to match account type to job. A checking account is for speed. A high-yield savings account is for storage. A savings account can work for either tier if it is easy to move money quickly, but the two-tier setup is cleaner when the larger pool earns a better rate and the small pool stays liquid.
This page is the how-to companion to the hub on where to keep and how to structure emergency savings, but here the focus stays on splitting the fund itself, not on choosing every possible account type.
How do I split emergency fund tiers?
Split emergency fund tiers by assigning a small, fixed Tier 1 amount to checking and moving the rest into Tier 2 cash in a separate savings account. The cleanest version is simple enough to set up in 15 minutes and strict enough to keep working for months.
Use this order:
- Pick the Tier 1 amount first. Set aside one number you can reach instantly, such as a flat amount tied to common same-day costs. That small cushion can help prevent you from draining the whole fund for minor friction, but a professional can help you choose the right amount for your situation.
- Place Tier 1 in a checking account you already use responsibly. Keep it where debit-card spending, ACH pulls, and bill payments are easy. The result is instant access without extra transfer steps.
- Move the remainder into Tier 2 in a separate high-yield savings account or savings account. Keep that account isolated from daily spending, preferably at a different bank or at least in a separate account with a distinct name. The result is a reserve that is still liquid but less tempting.
- Label the accounts by purpose. Names like “Emergency Tier 1” and “Emergency Tier 2” beat generic labels like “My Savings.” The result is less confusion when money moves back and forth.
- Set a refill rule. After you use Tier 1, replenish it from Tier 2 as soon as practical, usually within a few days after the emergency clears. The result is that the top layer stays ready for the next surprise.
A useful split is one that matches your monthly life, not a spreadsheet ideal. If your cash flow is tight and you get paid biweekly, a larger Tier 1 can help you avoid overdrafts. If you already carry a few weeks of slack, Tier 1 can stay smaller because you are less likely to need same-day money.
The most common mistake is making Tier 1 too large. That turns the checking account into a spending magnet. The other common mistake is making Tier 1 too small. Then every minor problem triggers a transfer, which defeats the point of a tiered emergency fund.
A practical rule: keep enough in Tier 1 to handle the kinds of surprises that land on a Tuesday afternoon, but not so much that the balance becomes a second wallet.
How much should be in Tier 1?

Tier 1 should usually be the smallest amount that covers your likely immediate costs, not the whole emergency fund. For many people, that means a few hundred dollars to start, then adjusting upward or downward based on how often small emergencies hit and how quickly Tier 2 can be moved.
The right Tier 1 size depends on three things: how variable your expenses are, how fast your bank moves money, and how badly a short cash gap would hurt you. If your rent, transit, medication, or childcare can create a same-day problem, Tier 1 needs more padding. If your budget is stable and your bank transfer timing is predictable, Tier 1 can stay lean.
A good way to think about it is by scenario, not by formula:
- If a $75 car repair would derail your week, Tier 1 should cover at least that kind of bill.
- If a $300 deductible is the smallest emergency you face, Tier 1 should be large enough to cover it without a transfer delay.
- If you rely on manual bill payment and get hit with occasional fees, Tier 1 should buffer those too.
Do not treat Tier 1 like a mini emergency fund that needs to equal 1 month of expenses. That puts too much idle money in checking and invites spillover into ordinary spending. Tier 2 exists so the rest of the reserve can stay separate, though a financial professional can help you decide what balance fits your household.
The downside of a very small Tier 1 is annoying but real. A transfer lag of 1 to 3 business days can create stress when a bill is due now. The downside of a very large Tier 1 is behavioral. The money gets used for things that are urgent in the moment but not truly emergencies.
A good compromise is to start with a modest Tier 1, then review it after 3 months. If you keep dipping into it for predictable expenses, raise it. If it never gets touched, shrink it and move the extra into Tier 2.
Where Tier 2 cash belongs for the least temptation
Tier 2 cash belongs in a separate savings account that is easy to move from but awkward to spend from. A high-yield savings account can be a good fit because it keeps the reserve outside your daily cash flow while still letting you transfer money out when a real emergency arrives.
The point of Tier 2 is not maximum return. It is controlled access. A high-yield savings account can be a good place because it usually does not come with a debit card linked to regular spending and it keeps the balance mentally separate from your checking account. A plain savings account can also work if the account is truly distinct and not tied to your everyday purchases.
The trade-off is simple. The more convenient the account, the easier it is to raid. The less convenient it is, the more annoying it becomes when you actually need the money. That is why a two-account setup is usually the right starting point, not a pile of cash sitting in one place.
A few practical details matter:
- Keep Tier 2 at a different institution if possible.
- Rename the account so the purpose is obvious.
- Turn off overdraft links that could quietly drain it into checking.
- Avoid adding a debit card unless you have a real reason.
The drawback of using a separate bank is slower access if the bank’s transfer window is not generous. That is usually acceptable for Tier 2 because Tier 1 should handle same-day pressure. If your bank takes 2 business days to move money, that is not a flaw in the split; it is the reason the split exists.
This is also where people can be honest about who the tiered setup is not for. If your income swings sharply and you regularly need the entire reserve within hours, splitting the fund may add friction you cannot spare. In that case, keep more accessible cash on hand and revisit the structure when your situation settles.
For a grounding standard, the Federal Deposit Insurance Corporation explains that insured bank deposits are generally protected up to applicable limits; the FDIC’s deposit insurance guidance is a useful place to confirm how account ownership and coverage work. The Consumer Financial Protection Bureau also has clear material on bank account basics and transfer timing. See the FDIC’s deposit insurance resources at https://www.fdic.gov/resources/deposit-insurance/ and the CFPB’s checking and savings account guidance at https://www.consumerfinance.gov/consumer-tools/bank-accounts/.
The cleanest account setup for instant access and backup savings
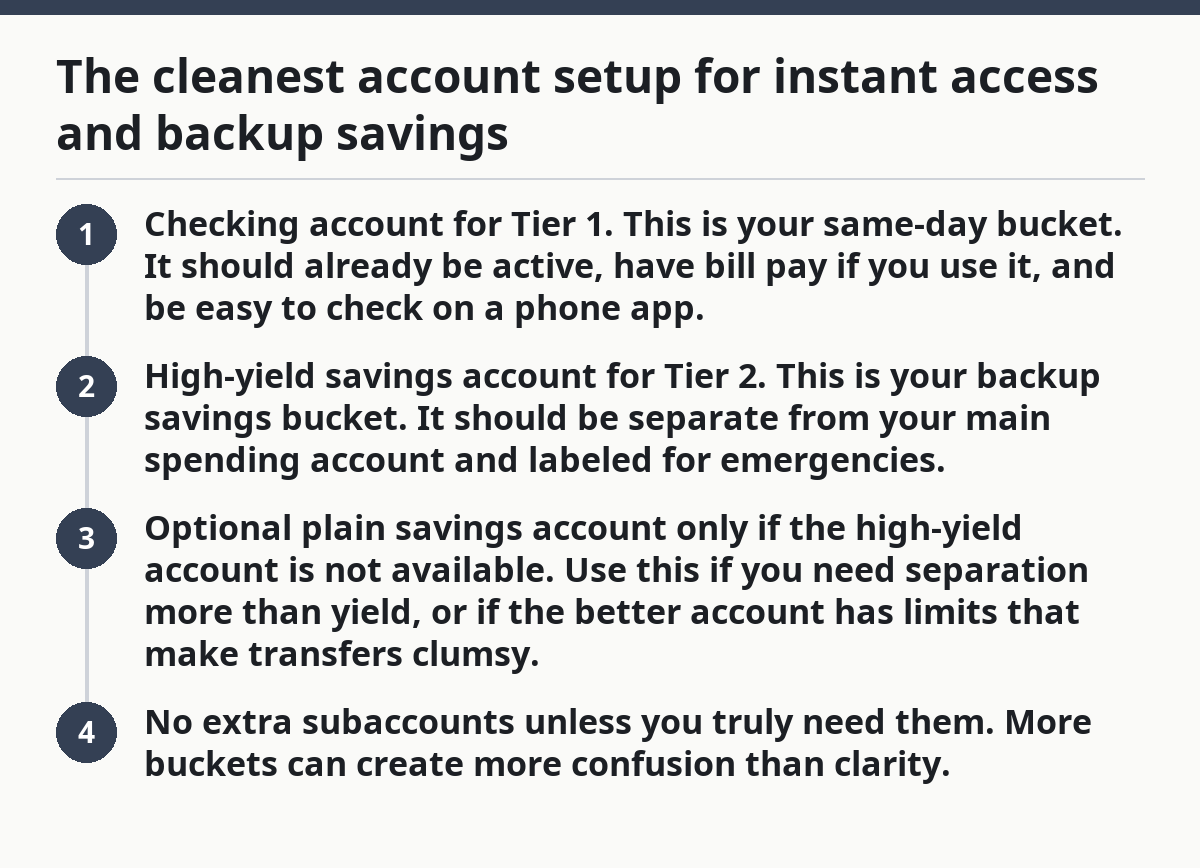
The cleanest setup is one checking account for Tier 1, one high-yield savings account for Tier 2, and nothing else tied to the emergency reserve. That 2-account structure keeps the system understandable and cuts the chance that the wrong pot gets spent.
Here is the setup that usually works best:
- Checking account for Tier 1. This is your same-day bucket. It should already be active, have bill pay if you use it, and be easy to check on a phone app.
- High-yield savings account for Tier 2. This is your backup savings bucket. It should be separate from your main spending account and labeled for emergencies.
- Optional plain savings account only if the high-yield account is not available. Use this if you need separation more than yield, or if the better account has limits that make transfers clumsy.
- No extra subaccounts unless you truly need them. More buckets can create more confusion than clarity.
The reason this works is psychological as much as operational. A checking account gets seen every day. That makes Tier 1 visible, which is useful for immediate access but risky for overuse. Tier 2 in another savings account is less visible, so it stays protected from impulse spending.
A generic mistake is making the “backup” account too easy to access. If Tier 2 sits in the same app, with one tap to move money and no naming convention, it often stops acting like backup savings. The account may still be technically separate, but the mental barrier is gone. A separate bank or at least a separate login can help restore that barrier.
There is also a timing issue. Some banks can move money between linked accounts in minutes; others take 1 business day or more. A tiered emergency fund should be designed around the slower end of that range, not the best-case assumption.
When I say “cleanest,” I do not mean “best for every person.” Someone with highly irregular bills may need a larger Tier 1, and someone with excellent cash flow may want a smaller one. The structure stays the same, but the balance between instant access and backup savings changes.
Mistakes that make a tiered emergency fund fail
A tiered emergency fund fails when the split gets fuzzy, the balances get too big, or the transfer rules are undefined. Those three mistakes cost either speed, discipline, or both.
The first mistake is letting Tier 1 become a second spending account. That costs control. If checking is holding 2 months of expenses because “it is easier,” ordinary purchases will gradually eat into money that should have stayed protected. The fix is to cap Tier 1 and sweep excess into Tier 2 on a schedule, such as once a month.
The second mistake is hiding Tier 2 so well that it might as well not exist. That costs response time. If the account has no clear label, no linked transfer path, or no remembered login, you may hesitate during a real emergency. The fix is to keep the account separate but still usable, with the login saved in a secure password manager and the transfer route tested before you need it.
The third mistake is never refilling Tier 1 after a withdrawal. That costs readiness. The next small emergency then forces a transfer from Tier 2, which turns a two-tier system into a one-tier system with extra steps. The fix is a refill rule: after any Tier 1 use, top it back up within the next pay cycle or as soon as cash flow allows.
The fourth mistake is ignoring transfer timing. If Tier 2 takes 3 business days to move and you have a bill due tomorrow, Tier 1 must be large enough to bridge that gap. This is why the split should be built around actual bank timing, not a hopeful assumption that money always moves instantly.
The fifth mistake is over-optimizing yield. Chasing a slightly better rate in an account that is harder to access can backfire if it creates delays or fees. For emergency money, liquidity and clarity beat marginal interest most of the time.
A tiered emergency fund is not about perfection. It is about reducing friction in the exact moment life gets expensive. The better the split, the less thinking you need to do during stress.
A simple way to keep the split working month after month
Keep the split working by reviewing it every 90 days and moving money only with a rule, not on impulse. That keeps the system from drifting back into a single pile of cash.
A practical maintenance routine is short:
- Once a month: Check Tier 1 and make sure it is still at its target level.
- After any withdrawal: Refill Tier 1 from Tier 2 once the immediate emergency is over.
- Every 90 days: Ask whether your same-day needs have changed because of rent, childcare, commuting, or insurance deductibles.
- After a job change or move: Reassess the split immediately, since those events often change how much instant-access cash you need.
The best tiered setup is the one you can maintain without drama. If you need a spreadsheet, a calendar reminder, and two different apps just to remember the purpose of each account, the system is probably too complicated. If you can explain the setup in one sentence — “Tier 1 is for today, Tier 2 is for everything else” — the structure is likely right.
This is also where people can decide whether to keep the split at all. If you never touch Tier 1 and your bank makes transfers nearly instant, you may want a smaller Tier 1 and a larger Tier 2.
Drafted with AI; not yet reviewed by a person.