Last updated: November 20, 2026
Key Takeaways
- Finish a 10-minute travel access checklist before you leave.
- Confirm debit card, PIN, and ATM access before you need emergency cash.
- Keep backup access separate from your main wallet and main card.
- Check card acceptance, bank notices, and cash needs before crossing a border.
Your emergency fund is useless in another city if you can’t reach it fast. Set an emergency fund travel access plan with one main debit card, one backup card, bank app access, and a cash fallback before you leave. The steps below sort out what to carry, what to turn on, and what to do if a card gets blocked. For How to Set an Emergency Fund Travel Access Plan for Out-of-Town Emergencies, the goal is simple: reach money in minutes, not hours.
What a travel access plan has to cover
A travel access plan is the set of rules that tells you how to get emergency money when you’re away from home, and it should cover debit card, ATM, bank app, credit card, and cash. That sounds simple until you’re 300 miles away, your phone has 8% battery, and the first ATM rejects your card.
Picture this: you’re in a hotel lobby at 9 p.m., the card reader is working, but your bank wants a travel notice or a fresh verification code. You need a plan that still works if one part fails. That means splitting access into layers, not trusting one door.
- Main access: your everyday debit card tied to the emergency fund source.
- Backup access: a second card or travel card backup in a separate wallet or bag.
- Digital access: your bank app for transfers, alerts, and card controls.
- Cash access: a small amount of bills for cabs, tips, tolls, or places that won’t take cards.
The truth is, most people only plan for the money. They forget the path to the money. That path is the whole point.
For the broader rules behind where emergency money should sit, the hub on emergency fund access rules covers the home base. This page stays on the travel problem only.
Build your travel access plan before you leave
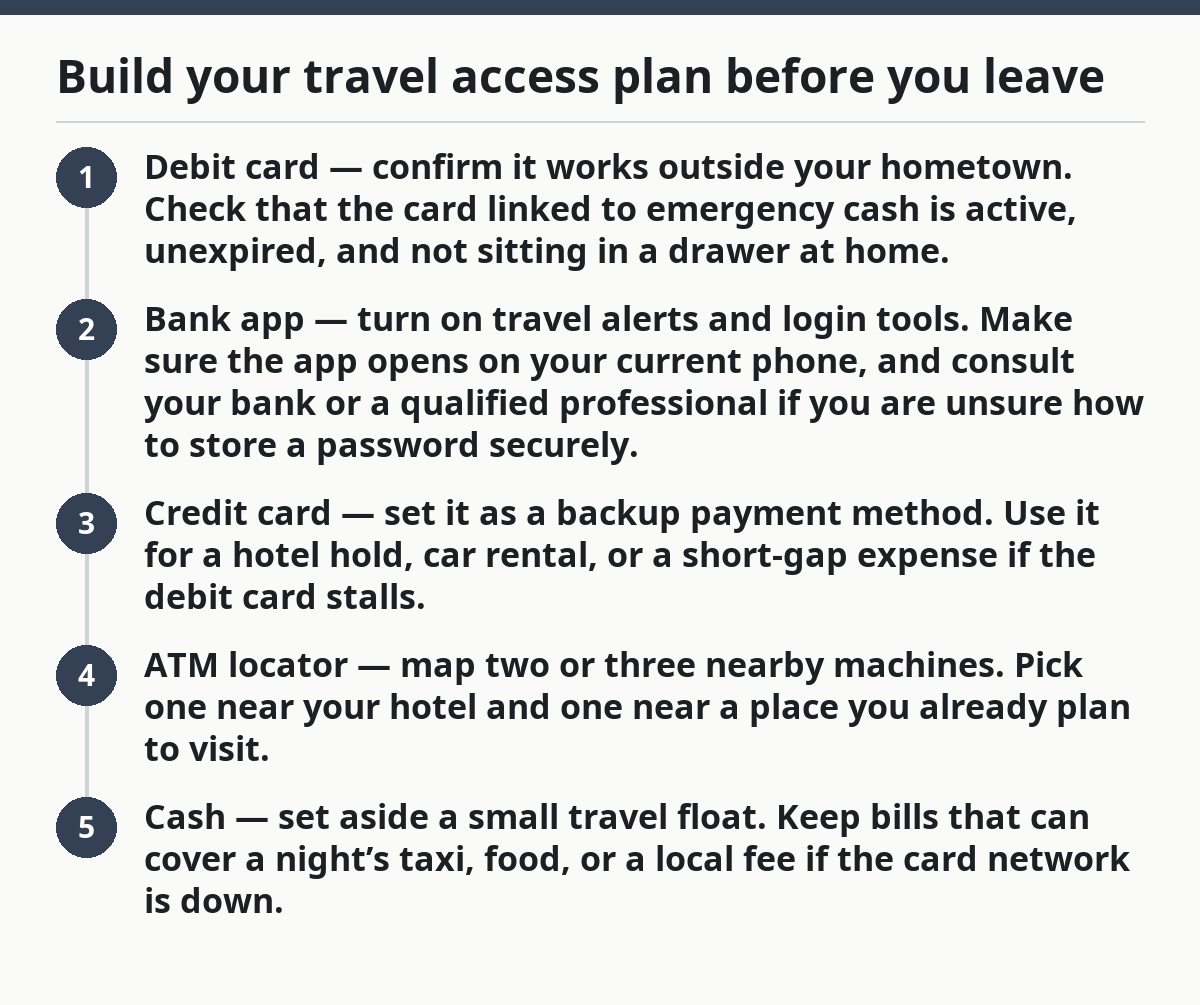
Your best plan is a 10-minute checklist you finish before the trip, not after a problem starts. Do it with your debit card, bank app, credit card, and ATM locator while you still have stable Wi‑Fi and time to fix mistakes.
- Debit card — confirm it works outside your hometown. Check that the card linked to emergency cash is active, unexpired, and not sitting in a drawer at home.
- Bank app — turn on travel alerts and login tools. Make sure the app opens on your current phone, and consult your bank or a qualified professional if you are unsure how to store a password securely.
- Credit card — set it as a backup payment method. Use it for a hotel hold, car rental, or a short-gap expense if the debit card stalls.
- ATM locator — map two or three nearby machines. Pick one near your hotel and one near a place you already plan to visit.
- Cash — set aside a small travel float. Keep bills that can cover a night’s taxi, food, or a local fee if the card network is down.
Now, you might be wondering how much cash belongs in the float. There’s no universal number here. The right amount is the smallest sum that solves a short, ugly problem without tempting you to treat the fund like spending money; if you are unsure, consult a financial professional or your bank.
How do I set up debit card and ATM access away from home?
You set up debit card and ATM access away from home by making sure the card, the PIN, and the machine all work before you need them. One broken link is enough to stall the whole plan.
Picture this: you’ve landed late, the airport ATM line is long, and the machine keeps offering the wrong withdrawal screen. If your plan depends on one card and one machine, you’ve already lost flexibility. Build for the ordinary failure, not the dramatic one.
- Debit card PIN: confirm you know it without looking it up on your phone in public.
- ATM network: check that your bank card is accepted on the machine you plan to use.
- Withdrawal limit: know your bank’s daily cap before the trip starts, since a low cap can cut off access even when the account is healthy.
- Location choice: use a well-lit ATM inside a bank branch, hotel lobby, or airport terminal when you can.
- Cash handling: count the bills before you leave the machine and put them away before you open your phone.
Here’s the catch: ATM access is not just about finding cash. It’s about avoiding a dead end when your first machine is offline, empty, or blocked by the bank’s fraud rules. Two nearby options beat one perfect one.
On the flip side, don’t treat the ATM as the only route. If your card is lost, swallowed, or declined, the machine is only one option.
What should go in the backup part of the plan?
Your backup part should be a separate travel card backup, a second way to log in, and a second place to keep the card from your main wallet. The goal is not duplication for its own sake; it is one clean fallback if the main path fails.
Picture this: you’re at a gas station in a town you’ve never visited, and your main debit card won’t swipe. If the spare card is in the same wallet, you have no backup at all. Split the pieces up.
- Backup card: keep a second debit or credit card from a different card network if you have one.
- Storage: place the spare card in a suitcase pocket, money belt, or locked bag rather than next to the primary card.
- Bank app: save the support number in your contacts and in a note you can open without data.
- Cash reserve: carry a modest paper-cash fallback in a second location, not only in the wallet you use daily.
- PIN note: store any reminder for your PIN in a secure format, and consult your bank or a security professional if you are unsure how to do that safely.
A backup that lives in the same pocket as the main card is not a backup. It is a second copy of the same risk.
That said, this step does not need complicated tools. It needs discipline and a 2-minute habit before each trip.
How do I handle cross-border access if I leave the country?
You handle cross-border access by checking card acceptance, bank notices, and cash needs before you cross the border. International trips add another layer: not every ATM network, merchant terminal, or bank fraud filter behaves the same way.
Picture this: you’re in a new country, the terminal asks for a PIN, and your home bank flags the transaction as unusual. That is normal enough to plan for. It is also why your travel access plan should name credit card, debit card, ATM, bank app, and cash in advance.
- Bank app: confirm the app works on your phone outside your home network and that you can receive alerts.
- Credit card: carry at least one card known for broad acceptance across borders if you already have it.
- ATM: look for machines connected to a major network, not a random standalone machine with no branch nearby.
- Cash: carry a small amount in the local currency if you can do that safely.
- Contact path: save your bank’s international support number before departure.
The truth is, cross-border travel punishes sloppy planning faster than a local trip. A card that works fine at home can fail the minute you hit a foreign terminal or an out-of-country fraud check.
Do not wait to solve this after arrival. A 5-minute check before you leave is cheaper than a stranded night.
Common mistakes that break emergency access
The most common mistake is storing all your access in one place, and it can turn a routine trip into a cash scramble. The fix is to separate cards, money, and logins so one loss doesn’t freeze everything.
Picture this: your wallet vanishes, your phone battery dies, and the only cash you had was inside the same bag. That’s not bad luck. That’s a plan with one weak point and no backup.
-
Mistake: one wallet only. Cost: one theft or loss wipes out your main and backup access.
Do instead: split cards and cash across two places. -
Mistake: no ATM plan. Cost: you waste time hunting for a machine when you’re already stressed.
Do instead: save two nearby ATM options before you leave. -
Mistake: no card backup. Cost: a frozen debit card leaves you waiting for support.
Do instead: carry a second card with a different function or network. -
Mistake: no cash float. Cost: small, urgent expenses become a bigger problem.
Do instead: keep a modest cash buffer for the first 24 hours. -
Mistake: assuming the app will save you. Cost: if the phone is dead or the app stalls, you’re stuck.
Do instead: treat the app as one layer, not the whole plan.
This is the part most generic guides skip: the cost is not only inconvenience. It is the delay between needing money and being able to touch it.
Make the plan easy to use in a real emergency
Your plan should fit on one screen or one index card, because a long set of instructions is useless when you’re tired. Keep the bank app, debit card, backup card, ATM spots, and cash location in a short note you can read fast.
Picture this: it’s midnight, you’re exhausted, and a child, partner, or rental issue is waiting on money now. You don’t need a personal finance essay. You need a fast sequence that does not make you think.
- Step 1: Try the main debit card first.
- Step 2: If that fails, use the backup card.
- Step 3: If cards fail, use the bank app to check alerts or move money.
- Step 4: If digital access fails, use cash for the immediate need.
- Step 5: If nothing works, contact the bank using the saved support number.
Keep this sequence in the same note as your hotel address and trip dates. That way, you are not hunting across apps while you’re already under pressure.
That said, a travel access plan gets better the more boring it looks. If it is short, clear, and repeatable, it will work when you are distracted.
Final check before the trip
Your plan is ready when you can name the main card, the backup card, the ATM plan, the cash float, and the bank contact without guessing. That is the standard for a real travel access plan, not a wish list.
Use this last check the day before you leave:
- main debit card packed
- backup card stored separately
- bank app logged in
- ATM options noted
- cash float set
- support number saved
If one item is missing, fix it before the trip starts. A missing backup is not a small gap; it is the part you will notice at the worst time.
How do I access emergency savings while traveling?
You access emergency savings while traveling by using the method you set up before you left: card first, backup second, cash last. The point is to keep one clear order so you do not waste time deciding under stress.
If the trip is local, your debit card and ATM plan may be enough. If the trip crosses a border, add a second card and a cash buffer in local currency if you can do that safely.
What if my bank blocks travel transactions?
Your bank blocks travel transactions when it thinks the charge looks unusual, and the fix is usually to verify the activity through the bank app or the bank’s support number. That is why the support number belongs in your plan before departure.
If the block hits while you’re away, use the backup card or cash while you clear the issue. Don’t rely on one card alone for a trip with any real distance or border crossing.
Should I carry a backup way to get emergency cash on a trip?
Yes, you should carry a backup way to get emergency cash on a trip. A second card or a small cash reserve can keep one bad day from becoming a full financial mess.
The backup does not need to be large. It needs to be reachable, separate from the main wallet, and simple enough to use when you are tired or far from home.
Drafted with AI; not yet reviewed by a person.